10:32 | November 23, 2015

VITAMIN E-OIL: THE SKIN SAVER

Beauty

Skinny-Belle (1 of 1)

The newest addition to my skin-care routine <3

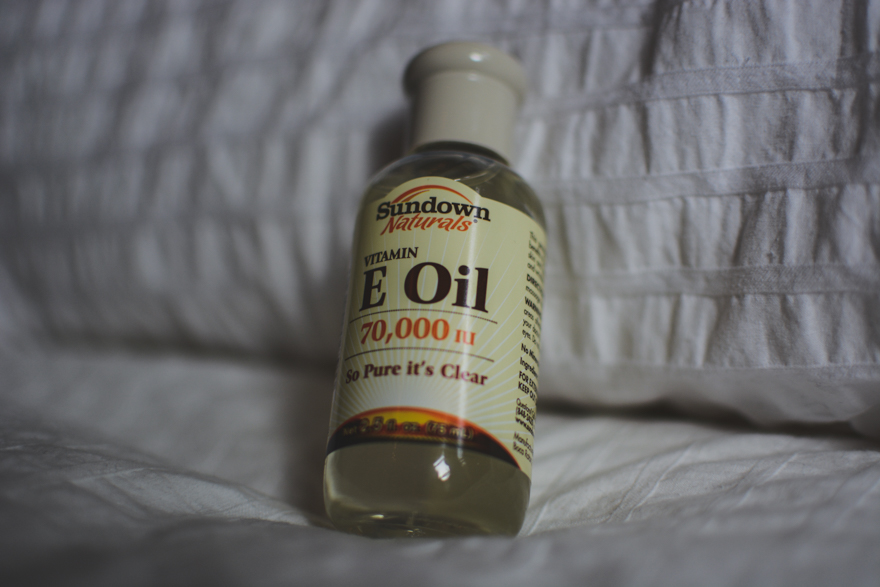
Everyone, meet me latest skin obsession: Vitamin E-Oil.

I am determined to do everything in my power to keep my skin looking as young as possible for as long as possible (the natural way.) This means major prevention measures. Nobody wants to wake up one day and wonder when the hell their face got wrinkly. You have got to start thinking about this stuff NOW. It is so much easier to prevent an unpleasant situation that to already be in one and try and get out of it. For all things in life haha. But especially when it comes to the health of your skin. 

Have I got you panicking yet? Haha! Welcome to what goes on inside my brain every day. It’s okay friends, I am here with my verging-on-obsessive determination to keep my skin young, and am more than happy to share my fave tips and tricks here with you!

So, I did some research and found yet another way to maintain and boost my skin’s health. Needless to say, Vitamin-E Oil has definitely been added to my weekly skincare routine.

Here is why I am obsessed:

  • Blocks the formation of wrinkles!!
  • Treats existing wrinkles by boosting collagen production!!!
  • Reverses sun damage and decrease the appearance of sun spots!!!!
  • Diminish the look of stretch marks!!!!!
  • (!!!!!!) 😁 <– exciting stuff right?!

So how do I use my Vitamin E-Oil?

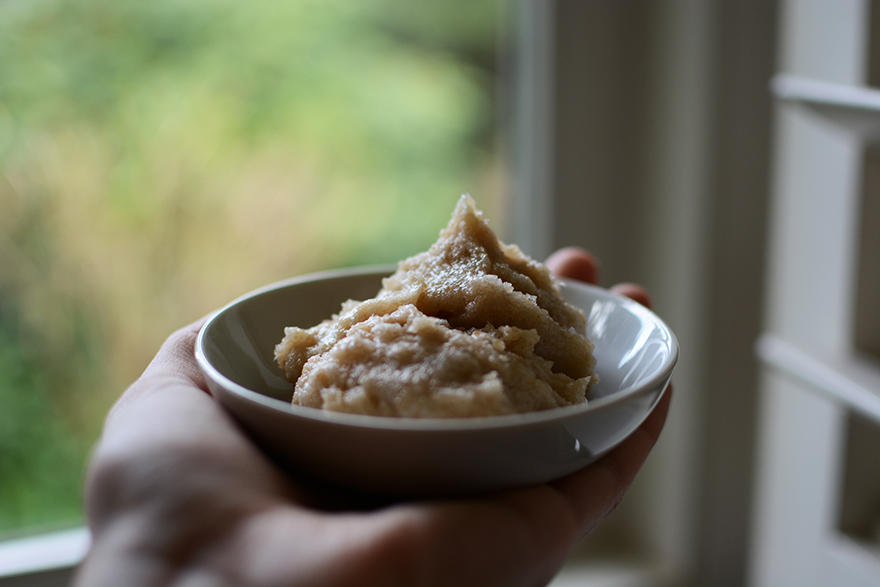
Well, it is a super thick oil so I mix it 50/50 with my regular face cream to make a homemade night cream. E-Oil is definitely not something you want on your face in the daytime. Way too much shine going on. Your face would look like a shiny Christmas bobble or something equally unappealing. So yes, nighttime only.

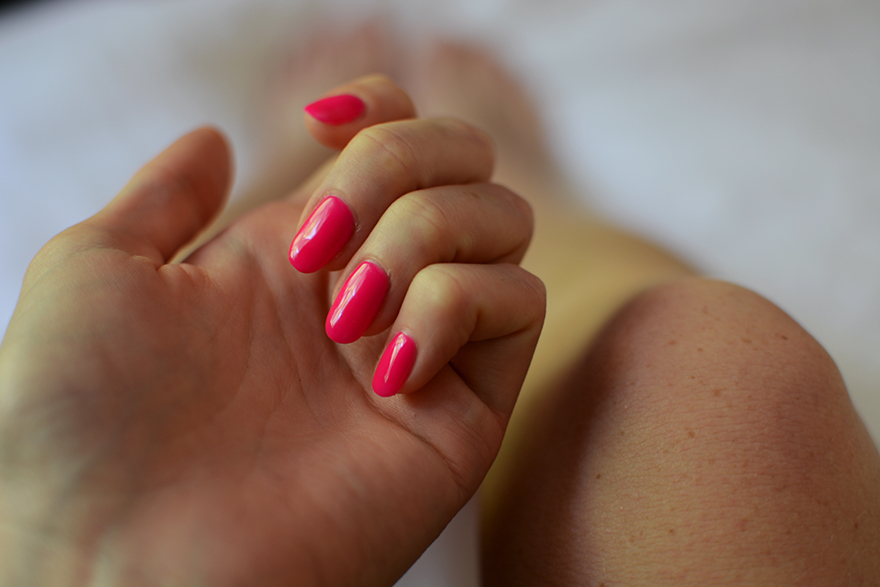
Also, Vitamin E-Oil is great to put on your cuticles before bed to hydrate them while you sleep. Yes yes yes. All good things. 

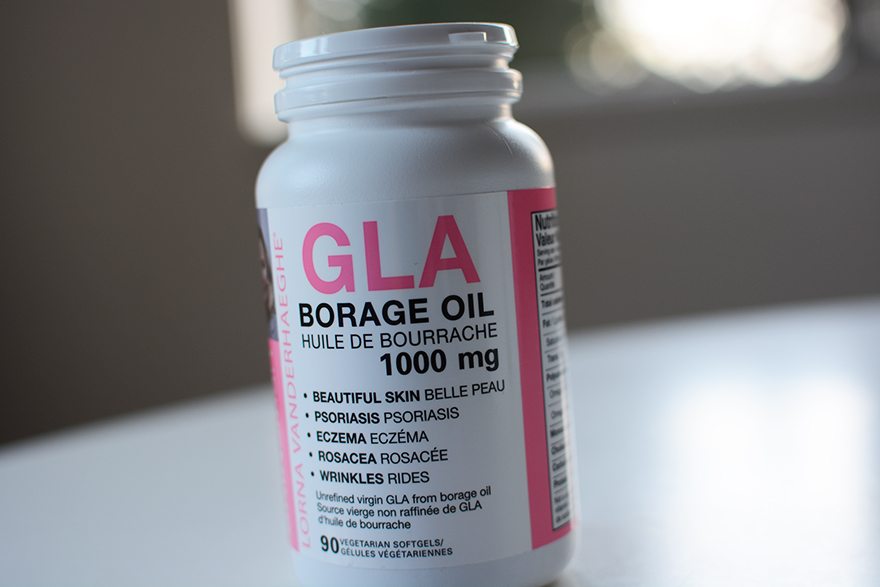
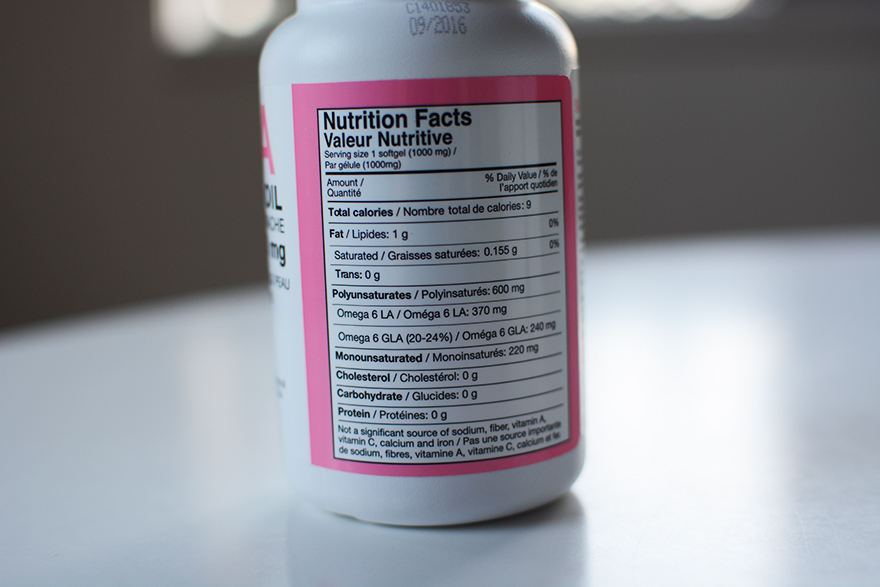
I ordered my Vitamin E-Oil on Amazon. Make sure whichever you order is pure E-Oil, and doesn’t have any rando fillers in it. This one here is really good. 

Make sure you check out the “Beauty” section here on Skinny Belle to get all my other skincare tips! They are the bomb, if I do say so myself. 😉

So have any of you used Vitamin E-Oil before? What do you think? Comment below babes! 💕


x,


Robyn-Signature

12:00 | September 8, 2015

BIORE PORE STRIPS

Beauty

Skinny-Belle (1 of 3-size)

Skinny-Belle (2 of 3-size)


Meet my dirty little secret to keeping my pores clean.

Biore Deep Cleansing Pore Strips are honestly the shit. For the majority of my skin care routine, I am all about using the most natural products possible that are not processed in any way. Think: Coffee Scrub, Vanilla Sugar Scrub, and the Lush Face Mask that I love to use. Biore does not exactly fit in the “natural” category, but holy god does it ever work.

You put these magical little strips on your nose for about 15 minutes, and then slowly peel them off. It legit pulls all the crap in your pores out, and you will feel like you somehow instantly lost 10 pounds (<– I dunno try it for yourself haha.) Your nose will be so smooth, and so fresh. I am secretly super addicted to doing these… like, verging on way to excited every time I pull them out lol.

The best part? You can pick these up at any drugstore for about $8. All kinds of winning if you ask me.

Now you know my dirty little secret! But it’s okay, because now we will both have clean pores. 😛


x,


Robyn-Signature

9:51 | August 23, 2015

CONTOURING TIPS

Beauty

Robyn-Gummer (4 of 7)

Robyn-Gummer (1 of 7)

Robyn-Gummer (6 of 7)

Robyn-Gummer (2 of 7)


Ladies, it is time to talk makeup. Get your game faces on, we are doing this live.

If you haven’t seen it already you need to check out my 5 minute makeup routine post. That shit is the only reason I get out of the house every day looking half-decent and not like Gollum from The Hobbit.

Today’s topic builds a bit more on that 5 minute makeup routine. Contouring is literally is the best thing I have ever learned. Okay, maybe not literally the best thing ever…. but it makes me pretty happy haha.

Without further adieu…. let’s talk contouring.

Contouring is basically adding shadows to your face in certain places to enhance your natural bone structure, and give more shape to your face. It looks amazing when you do it right. Notice I said “enhance” and not “paint.” Makeup in general is meant to bring out your natural beauty, not cover it up like the icing on a cake. Remember ladies…. LESS IS MORE! Nobody likes a cake-face.

There are two main steps to contouring my face. AJL & KKC. (“Angelina Jolie Lips & Kim Kardashian Cheekbones.”) You will thank me later 😉

Today I am just going to go over the AJL contouring I do, and I will save the KKC for another day. 

AJL (Angelina Jolie Lips) Contouring Steps!

Step 1: Take your fave bronzer and eyeshadow brush, and right below your bottom lip in the centre apply a nice amount of bronzer. BOOM. Angelina Jolie Lips achieved. This will make your lips looks fuller and more luscious than they already are. I am obsessed with this trick and legit do it every day. 

Step 2: Take the same brush and bronzer and apply bronzer to the underside of your nose. (Like…. where the nostrils are. Sounds gross, looks great.) This will make your nose look a bit smaller by shortening it. I usually just bronze from the bottom of my nostrils up to the curve of my nose and leave it at that. If you want to be extra spicy you can pull the bronzer up a bit higher to make your nose look even more slim. (Slim? Sure.)

Step 3: With a TINY (key word: tiny) amount of bronzer, we are going to make your nose more defined. Start at your eyebrow, and alone one side of your nose draw a light shadow with your brush. Basically you want to draw on the bridge of your nose, but over to one side. Do the same on the other side. 

Step 4: Take your big powder brush and blend alllll this in! Be sure you don’t put too much on otherwise you might start to look like Picasso, and that ain’t cute. 

These tips are legit game changers, and I am so stoked to have finally shared them with you today! For your reference, the brush I use to do all this is the Bobbi Brown Eye Shadow Brush and my Chanel Les Beiges Healthy Glow Sheer Powder for my bronzer. 

What do you guys think?! Will you use these contour tips? Stay tuned for my KKC tutorial coming soon! <3


x,


Robyn-Signature

1:00 | August 13, 2015

GREEK YOGURT MASK

Beauty

Skinny-Belle (1 of 5)

Skinny-Belle (4 of 5)

Skinny-Belle (5 of 5)


The time has come again where I put edibles on my face and post the photos on the internet. Remember that time I put coffee grounds all over my face? Good times. 

Well folks, there is indeed a method to my madness. The coffee –> face incident had purpose. I do that shit on a weekly basis. (Read more here about my coffee scrub! It’s actually unreal.) And now I would like to introduce you to my Greek Yogurt Mask. This calms, cleanses, plumps, and exfoliates your skin. This mask makes an appearance every few weeks or so in my house. Obviously rotating through my other fave masks like Lush, Vanilla Sugar Scrub, and Coffee Scrub.

There is something about a nice face mask that really just makes me feel like a new woman. Doing face masks on a regular basis is full on adulting if you ask me. 

So what is so great about this mask? Your skin will feel clean, refreshed, plumped, and clear after you use it. The ingredients are all natural and can be easily bought at any grocery store (if you don’t already have these things in your fridge!)

What’s in it:

  • 1/4 cup unsweetened/unflavoured natural greek yogurt
  • 1/4 cup quick rolled oats
  • 1 tsp cinnamon

Start by washing your face with soap and water, and pat it dry. Now, mix all your ingredients in a bowl and generously apply the mixture to your face. Lay down, and just chill there like a boss for about 5 – 10 minutes. The cinnamon will sting a little bit on your face (just FYI so you don’t think you are dying when that happens) but it’s a good thing so just stay chill. I SAID STAY CHILL JESUS. 

*Ahem.* 

After you have relaxed with your mask on for 5 – 10 minutes, wash it off by splashing water on your face and gently rubbing the mask off in little circles (exfoliation for the nationnnnn.) Make sure you get alllll the  mixture off, then you are done! Dry your face and put your regular skin cream on.

Do you feel like a new woman?! Because I felt freakin’ fabulous after doing this mask. Comment below if you tried it out, I want to know what you think!


x,


Robyn-Signature

7:40 | July 16, 2015

BEACH WAVE HAIR TUTORIAL

Beauty

Beach-Waves (4 of 5)

Beach-Waves

Beach-Waves (5 of 5)

Today I want to let you guys in on one of my top hair styling secrets. Beach waves. See examples by clicking here and here. This hairstyle is perf for summer for sooooo many reasons. It is relaxed, fun, and holds up well in that summertime heat. By “holds up well” I mean you can get gross and sweaty and still look like a total babe. Looking like a babe is KEY during the warmer months. Babe status must be achieved. Beach babe. Babe-sicle. Babe-ilicous. Babe-tastic. K I’m done. You get the point.

Moving right along……

So this is pretty much how I do my hair all summer long. And this is a trick that you need in your life. Yes, need it. It takes two seconds, and costs…. Well…. Nothing. (<– FO FREE. My two fave words.)

We have all seen the “beach sprays” sold in salons that cost like a million dollars. (If you think about the ingredients, that exaggeration won’t seem like such an exaggeration haha.) I have bought these beach sprays, used them (you are like no shit get to the point), read the ingredients, and concluded that they are a total waste of money. Girl can make that stuff at home. Then obviously share the love on Skinny Belle. Because that is how we roll around here.

Everyone knows “natural looking” beach waves do not come naturally. (Kind of like the classic I-woke-up-like-this “natural” makeup look that takes a significant amount of effort and boys just think that’s how we actually look.) BUT, even though my beach waves may not come naturally but they are sure as hell a quick-fix beauty solution! Legit takes like 30 seconds to get yourself looking like you just went for a casual swim/surf in the pacific ocean.

Okay so how do I make my home-made beach spray?

1) First thing you need to do is go to the dollar store (or drugstore whichever you’re feelin’) and buy yourself an empty spray bottle. Make sure you can adjust the nozzle so it sprays a fine mist and not a power-jet like stream of water. Cuz aint nobody want to be spraying a water-gun at their head. We want misting action here, people.

2) Once you are home from the store, turn on your tap water. (HOLY CRAP GUYS I KNOW THIS IS GETTING NUTS.) Fill the bottle with warm water. Then, take your sea salt (make sure it is sea salt and not regular salt. We want beachy waves not…. table salt waves…………..) and add it to the bottle. This is all approximate, and you can adjust the amount of salt you use based on your hair type. As a general rule about 1 cup of water to 2 rounded tsp of sea salt is a good proportion. I like to add a little more because I like my hair to be really wavy. Note that the more salt you add the “crunchier” your hair will get haha.

3) Now, here is where your hair type will change what you do. If you are a lucky betch and have super healthy & strong hair, you should curl you hair as you regularly would. Then, spritz your beach spray all over! If you are one of us common folk with weak/fluffy/damaged hair (aka me)…. YOU WIN! (not really but let’s say just go with that) All you need to do is spray the beach spray on your dried (and un-styled) hair and tustle it about and you are good to go.

4) When you spray the beach spray in your hair will be wet (science.) Run your fingers through your hair then let it dry on its own. DO NOT brush it after you run your fingers through it. It will look bad. I promise.

So there you have it!! Also I feel the need to let you guys know that this really does work best with hair types that are already naturally a little bit wavy, as this trick is a great enhancer for already fine/wavy hair. 

I am so stoked to share with hair styling tip with you guys, because it is perfect for summer and I can save you about $60 a bottle on store-bought beach spray. #winning

Soooo what do you think? Will you be trying out my homemade beach spray this summer? Tell me in the comments below! <3

x,

Robyn-Signature

6:30 | June 24, 2015

MY SKINCARE SECRET: BIOSIL

Beauty

BioSil-Blog-3

BioSil-Blog-2

BioSil-Blog-1


Meet the best supplement I have found thus far for the health of my skin, hair, and nails. I do lots of things to take care of my skin on a daily basis, because I really do believe that the totality of your skincare efforts will bring a long term positive change to your skin. It is kind of like my perspective on eating and the whole 80/20 rule. (<– that is whole another can of worms that we will crack open later with another blog post! Be excited. 😛 ) But this little secret of mine has been by far the most effective in the shortest amount of time. Like, you guys…. I could actually SEE the results after about 3 months of taking it. And that feels freaking fantastic if you ask me.

Before I go any further… meet BioSil. It is great, you should go and buy it at your local nutrition supplement store ASAP. Like, yesterday. As you guys already know, I am all about prevention when it comes to skincare. It is soooo much easier to prevent wrinkles than it is to try and fix them once you have them. Trust me on this one.

Okay so what does BioSil do that makes me love it so much?

  • Removes wrinkles and actually prevents (!!!) them from forming. HAPPINESS.
  • Improves the thickness, body, and strength of your hair. I have the weakest hair ever so this was a major bonus for me. And yes, I have seen a noticeable improvement in my hair 🙂
  • Makes your bones and joints stronger! This is so essential to feeling healthy and beautiful for your whole life. If you are constantly in pain from aching bones/joints, you will not be a happy camper. Prevention, people!
  • Your nails will grow like crazy! My nails have never been as long or strong as they are now. It is the best.

The above benefits of taking BioSil occur because of the silicon and choline contained in each capsule. I am not a scientist or doctor by any means (girl faints at just the thought of a needle, I am a delicate flower don’t judge me 😛 ) but this is what I have found to work for me. Please do your own research and consult your doctor to see if BioSil is right for you!

Here are the links for the other skincare supplements I like, including: Gelatin and Borage Oil. Enjoy this little tipity-tip! (Or pretty major one, if you ask me.) 

Have you guys tried BioSil before? Heard of it? Tell me in the comments below! <3


x,


Robyn-Signature


1:00 | May 22, 2015

FRESH NAILS

Beauty

Fresh-Mani-2

Fresh-Mani-3

Fresh-Mani


Waddup friends. Okay so I have been so sick these past few days. AKA not a happy camper. Usually I am a pretty tough cookie when it comes to this stuff, but this was a badddd one. So while I was bed ridden and drinking copious amounts of my Hot Lemon & Ginger Tea (try it, it works like a charm because I am en-route to recovery!) I thought I would share my latest nail colour with ya’ll.

I am aware that this is not world (or life) changing stuff in any way, but frankly it kinda made my day. When I do my nails I usually (ehem… always) get boring neutral colours. They are easy, and they match with everything. Think black, cream, bland pink, and dark colours. The other day when I got my nails done, I thought screw it. I wanna go full on Barbie here. AND I LOVE IT. You guys. Why haven’t I done this sooner?! I just feel this stupid sense of happiness every time I look at my ridiculously pink nails. Does that make me a giant fruit? Do I care? Not really no. Needless to say, I am feeling the bright coloured nails these days. Maybe next time I will go crazy and get a bright blue or green….. Wild things people. Wild things are happening in my world. 😛

What are your go-to nail colours? Do you usually go with neutral dark and light colours like me? Or, are you into this bright and fun business that I have obviously just discovered? I wanna know! Tell me in the comments below 😀


x,


Robyn-Signature

7:00 | April 30, 2015

EASY HAIRSTYLE

Beauty

Hair-Style-1


Sometimes making just a little twist on simple things can make them pretty amazing. And I am all about having easy ways to make things a little more special. This hairstyle, for example, is one that I do quite often because it is so easy to do but still makes it look like you took the time to do something a little special with your hair. And it takes 5 minutes… max. I mean… what’s not to love?!

To do this quick look, take the upper half your hair into a nice half-ponytail. Make sure you use an elastic band that is similar to your actual hair colour so it blends in nicely. I bought these awesome Goody bands that are a “blonde” colour, and I loveeee not having that awkward black hairband in my light hair. It just looks way better I think. 

Okay back to the hair here. Once you have your half-ponytail, take the remaining hair below and tie it in a ponytail too. Now, take the top ponytail and right above you tied it with the elastic make a little split in the hair, and bring the ponytail up, over, and through the hole you made. Do the same with the bottom ponytail. Now, pull the hair from the top ponytail through the hole you made in the bottom one. Take your hands and mess up the hair a bit, and thats it! You don’t really need to mess it up but I personally always prefer my hair to be a little messy. 😛

Like this hairstyle? Check out this simple updo too. 


x,


Robyn-Signature

1:41 | April 26, 2015

BEAUTIFUL SKIN SOLUTION: BORAGE OIL

Beauty

Borage-Oil-3

Borage-Oil-4

Borage-Oil-2


Alright so I promised you guys I would share what I have been taking to improve my skin! I truly believe beautiful skin happens from the inside out. It is so important to treat your body well, and eat a nutritious diet, and get enough beauty sleep. That being said, it can’t hurt to go the extra mile and give yourself that added boost you need to make sure that your skin is staying strong, healthy, and wrinkle-free.

I love to plan. Planning is basically my first love in life. If you plan for something, you can make it happen. And I like to make things happen haha. SO, I am planning to take care of my skin, and keep it looking as young as possible. It is much easier to prevent a problem than it is to fix one, especially when it comes to something as important as your skin!

So…. May I introduce you to one of my daily supplements, Borage Oil! Borage oil is made from the seeds in the Borage wildflower commonly called the “starflower.” (So it is vegetarian… yay!)

Benefits:

  • Restores natural moisture and smoothness to skin
  • Has anti-inflammatory effects on the skin
  • Regulates water loss and protects skin from damage
  • Treats skin disorders (ie eczema) and removes the inflammatory symptoms associated with these disorders!
  • Treats acne and rosacea

Borage oil has one of the highest amounts of the essential fatty acid called gamma-linolenic acid (GLA). This is the fatty acid that your body uses to reduce inflammation and protect your skin. Winning! You can order it online by clicking here, or pick it up at pretty much any natural health store. 

As I always say, I love taking this product and I have found that it works really well for me. Please make sure you do your own research before adding any supplements to your diet!

Lots of love 🙂


x,


Robyn-Signature

1:00 | April 13, 2015

VANILLA SUGAR SCRUB

Beauty

Beauty-Mask-1

Beauty-Mask-2

Beauty-Mask-3

Beauty-Mask-4


Happy Monday everyone! I want to share today another one of my favourite full-body and facial scrubs. You can make this super easy with just 3 ingredients you have at home! My Vanilla Sugar Scrub is ridiculously hydrating, and makes your skin feel extra smooth. If you need to give your skin a little bit of a “booster” this is the perfect thing for you!

What’s in it?

  • Extra virgin coconut oil
  • Pure vanilla extract
  • Golden sugar

Just combine about equal parts of your coconut oil and golden sugar in a bowl. Mix it up until it is smooth. I love to add a little bit of pure vanilla extract too, because it makes the scrub smell so delicious. You will want to eat it. Not going to lie (this is a judgement-free zone lol) I defs tried it and it tastes freaking awesome. So maybe don’t eat it, because its kind of hard to stop. (Sweet jesus I cannot believe I just admitted I ate my body scrub on the internet.)

Okay so what’s the skinny on coconut oil? Why do I always use it in my homemade beauty recipes?

Coconut oil sinks in deep to soften, moisturize, and condition your skin. Coconut oil is made up of saturated fats, which primarily smooth and retain the moisture content of your skin. Coconut oil also has vitamin E in it. (Yay!!!) Vitamin E is essential for skin growth, repair of wear and tear on skin, and prevents it from cracking. This is great if you have spent too much time in the sun or in harsh weather conditions. The most exciting thing that vitamin E does (in my opinion) is the prevention of wrinkles! The vitamin E contained in coconut oil is known to protect skin cells from damage over time.

Coconut oil used as a scrub is great because it removes any excess dead skin (ew, I know, but that is what exfoliating does lol) and cleans out whatever has blocked your pores. It is a 100% natural product with no added chemicals or nasty byproducts that are usually added to our over-the-counter beauty products. Coconut oil clears out the pores and has some naturally antibacterial properties too! 

….. There you have it! Those are the main benefits that I wanted to highlight for you regarding the external use of coconut oil. I love the fact that it is a completely natural product, because there is something just wrong about the weird jelly-creamy-perfumey face products we buy in stores. Whenever you can, it is best to keep your beauty remedies as natural as possible! 

Liking the sound of coconut oil? Try out my Coconut Oil Hair Mask and my Coffee Scrub

Definitely give this scrub a try if you are feeling like your skin needs a bit of a boost or some rejuvenation. It is a full-body and facial scrub, so make lots and use it everywhere! You will feel so great after, silky smooth skin and all. 🙂 


x,


Robyn-Signature