12:00 | September 30, 2015

NORI FRIED RICE

Food

SkinnyBelle (3 of 13)

SkinnyBelle (1 of 13)

SkinnyBelle (8 of 13)

SkinnyBelle (10 of 13)

SkinnyBelle (13 of 13)

SkinnyBelle (4 of 13)


Leftovers are my best friend. Really though. They are a lifesaver. It is pretty unrealistic to think that every night of the week and every day for lunch you will make yourself a fresh meal. For those of us who are busy and in a time crunch, having quick solutions for healthy and satisfying meals is key.

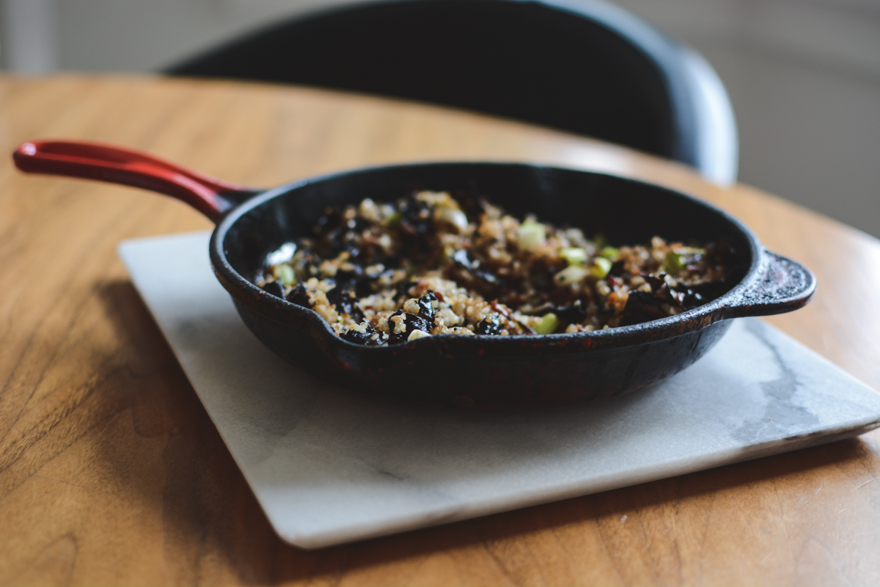
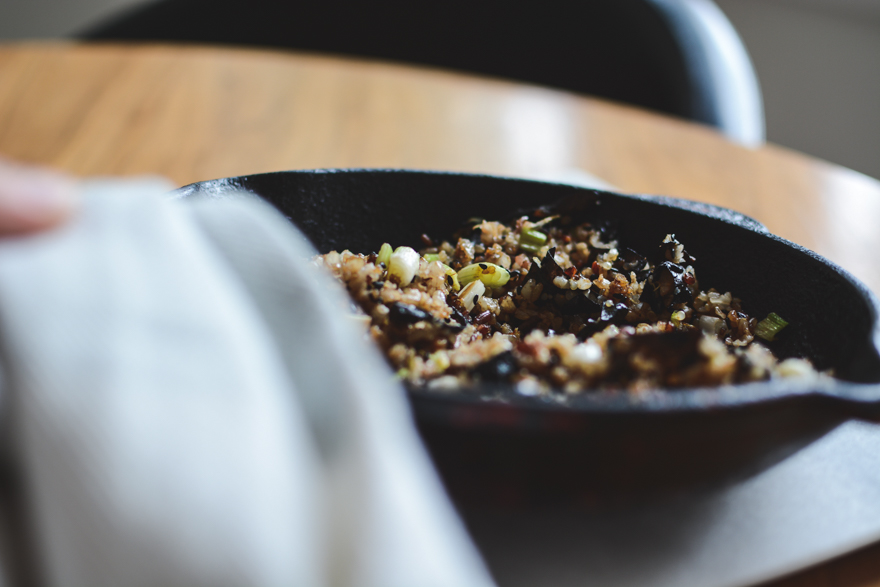
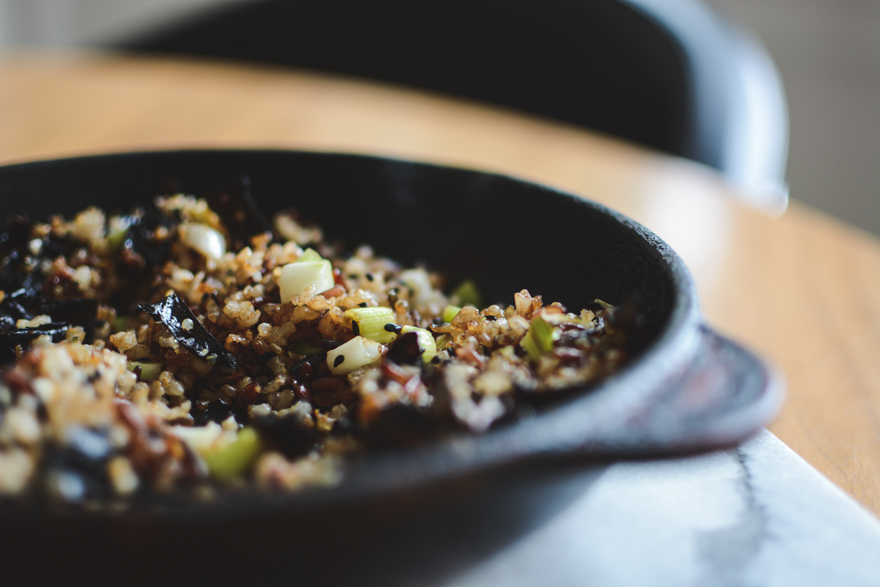
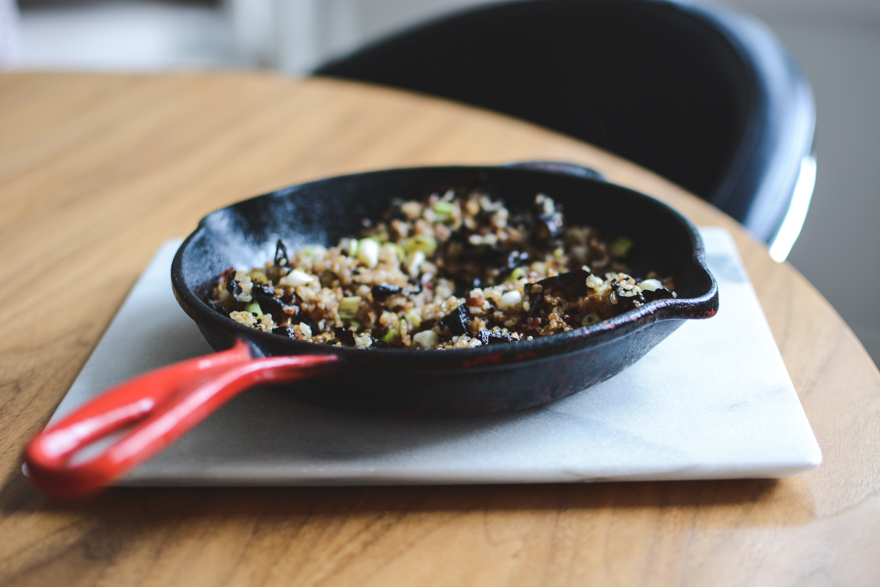
What I like to do is make a big batch of brown rice/quinoa/wild rice mix at the beginning of the week, and use it to make a variety of meals throughout the work week. So, meet one of my favourite “leftover” meals, my Nori Fried Rice. Nori Fried Rice is packed with flavour, and is so comforting in this chilly weather. 

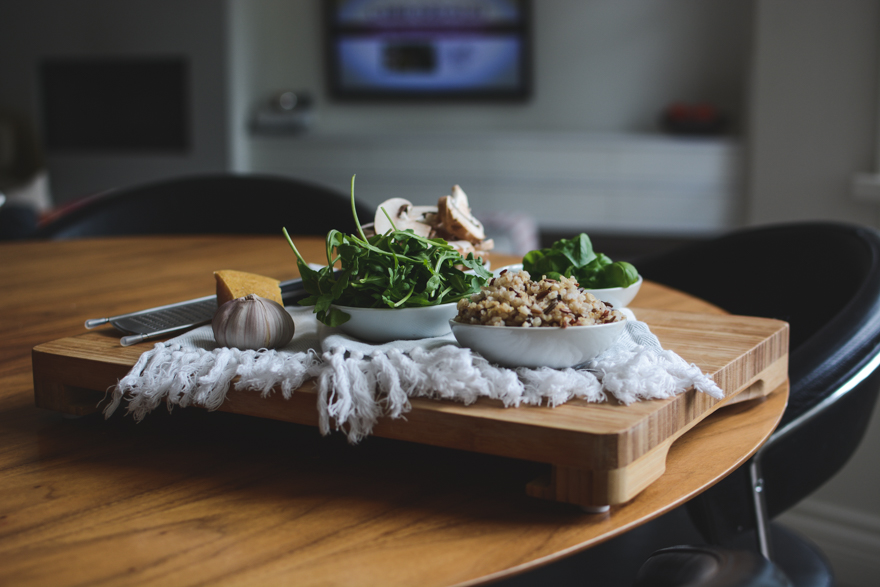
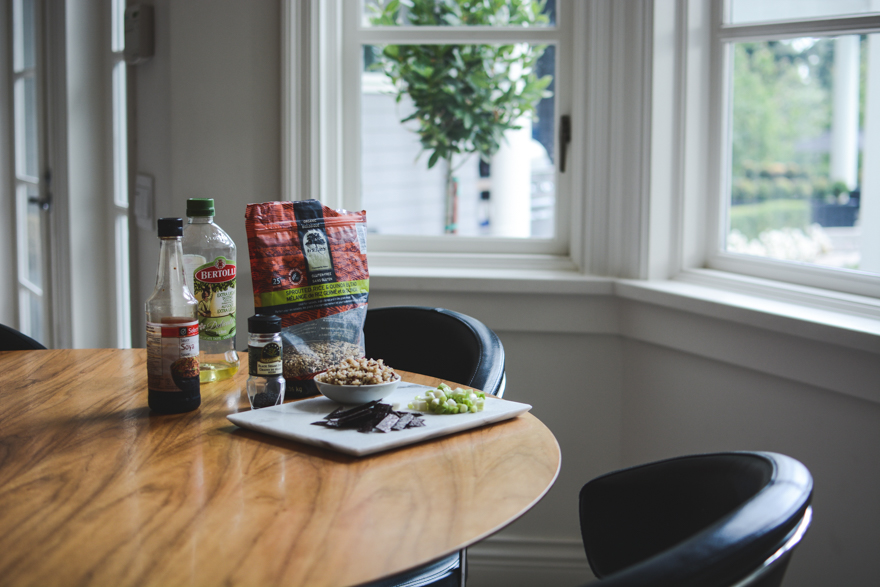
So, here are the ingreds:

  • 2 tbsp EVOO (extra virgin olive oil)
  • 2 cups of brown rice (I used a really yummy Sprouted Rice and Quinoa Blend from TruRoots.)
  • Coarse sea salt
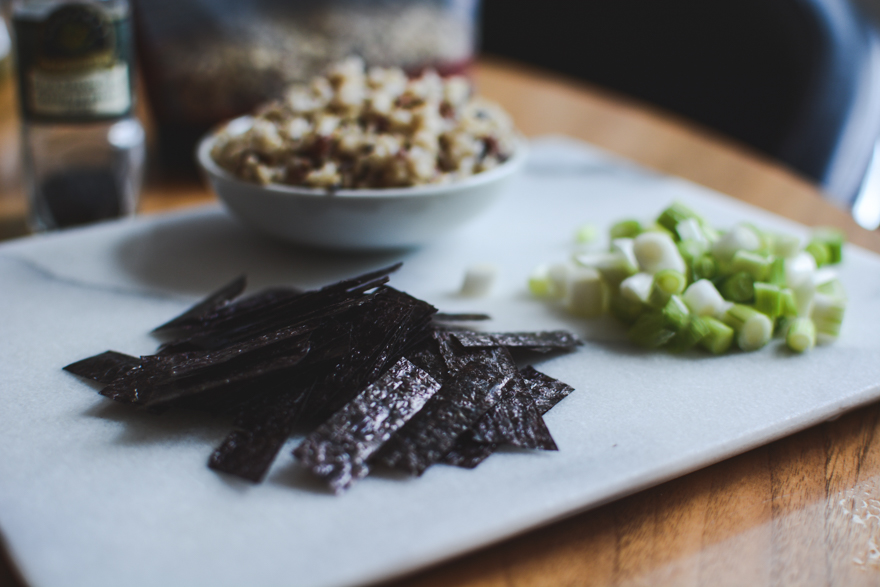
  • 2 sheets nori seaweed
  • 2 – 3 tbsp soy sauce (if we are being real I put more like 4… I like salt haha)
  • 1 tsp black sesame seeds
  • 8 green onions (scallions), white and light green parts only. Thinly sliced.

Okies dokes. This is super easy, so let’s get started.

Step 1: Get your day-old rice out of the fridge, or cook up some rice & follow the directions on the package.

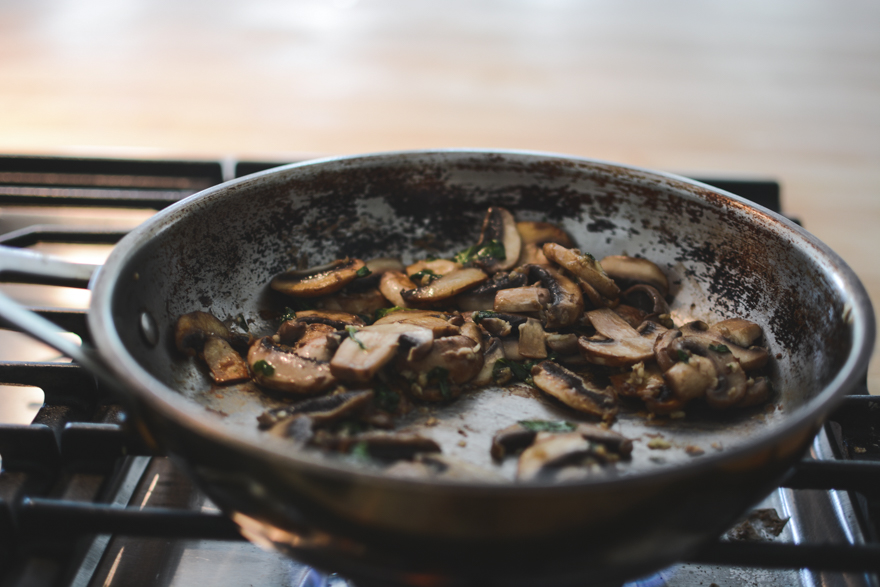
Step 2: Heat olive oil in large pan over medium-high heat

Step 3: First add the onions then the rice on top and a big pinch of salt and cook 2 -3 minutes (stirring) until all warm and justttttt barely starting to brown.

Step 4: Cut up the nori seaweed into little strips and add it along with the soy sauce and sesame seeds. Stir together and you are done!

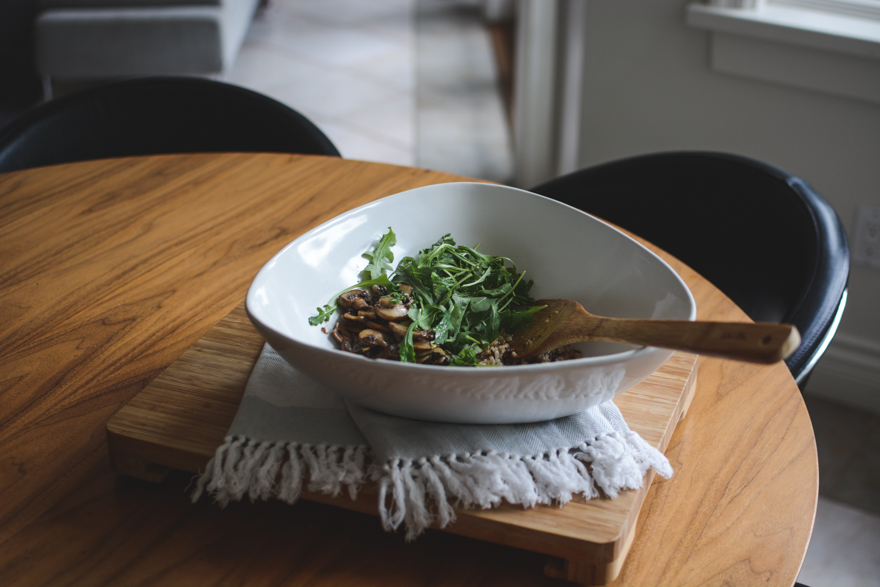
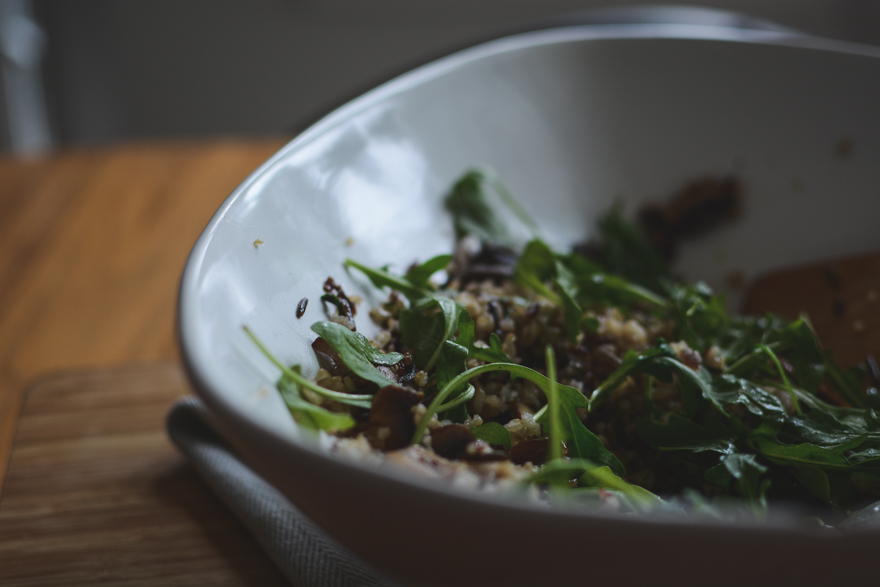
Enjoy my Nori Fried Rice as a tasty lunch or dinner any day of the week. 🙂


x,


Robyn-Signature

12:40 | September 20, 2015

TACOFINO

Food

Skinny-Belle (5 of 8)

Skinny-Belle (3 of 8)


Tacofino, HELLO.

So I have been a fan of the Tacofino food truck for a looooooonnnnnng time now. As I am sure the rest of Vancouver has been too. (Get out from under that rock you were living under if you haven’t heard of it :P.) I have been meaning to try their full restaurant location for a while now, and finally got around to it the other night! Tasty tasty tasty if you ask me. Definitely a must go. Obviously all the tacos were good, but the thing that was the highlight of the meal for me was the salmon ceviche. Minus the fact that they didn’t give us enough little chip things to eat the ceviche with. But, details haha. 

So if you are looking for somewhere to go for your Sunday night dinner, Tacofino is a great spot! Click here to check out their website for more deets.

Have a great day everyone <3


x,


Robyn-Signature


12:00 | September 15, 2015

HOMEMADE MUSELI

Food

Skinny-Belle (2 of 11)

Skinny-Belle (4 of 11)

Skinny-Belle (5 of 11)

Skinny-Belle (7 of 11)

Skinny-Belle (9 of 11)

Skinny-Belle (10 of 11)

Skinny-Belle (11 of 11)


You guys know I am all about quick ways to live the healthiest possible lifestyle. It can be a huge challenge to eat right when you are a busy woman. And let’s be real, we are all girl bosses over here and need ways to treat ourselves right even though time is a crunch! You feel me??

So let’s get real. Even though we all want to make super delicious breakfasts (think my Skinny Apple Pancakes) every day, that shit just isn’t going to happen on weekdays. Work, school, and just life in general can make mornings hectic.

This is where simple preparation comes in. I am a majorrrr planner. I like to plan everything. It is a pretty safe bet to say whatever I am doing in a day was pre-planned. So anyways, this homemade museli is way better than anything you can get in stores, takes like 3 minutes to make, and will set you up for a week of healthy breakfasts. 

Ingreds:

  • Whole rolled oats (about 1 cup)
  • Kamut grain flakes (about 1 cup)
  • Goji berries
  • Raisins
  • Cashews
  • Ribboned and unsweetened coconut
  • Pecans
  • Dried figs (to top)
  • Cinnamon (to rop)

There is legit only one step here. Dump all your ingreds into a bowl & mix. BOOM. Done.

Told you, so simple. 

Museli can be eaten cold & uncooked. All you do is pour your favourite non-dairy milk (coconut tastes best to me) over this and top with some cinnamon and dried figs. I like to let it sit for about 5 mins before eating, just because the kamut flakes and oats get a little softer. The besssssst.

Side note: I didn’t really put any specific measurements on this recipe, because it is totally up to you! If you like lots of dried fruits and nuts, add more! If you like less, add less. #science 

Enjoy babes! <3


x,


Robyn-Signature


7:36 | September 6, 2015

CHILI LIME CORN

Food

Skinny-Belle (1 of 11)

Skinny-Belle (2 of 11)

Skinny-Belle (4 of 11)

Skinny-Belle (6 of 11)

Skinny-Belle (8 of 11)

Skinny-Belle (11 of 11)

Skinny-Belle (9 of 11)


Happy early Labour Day to my Canadian and American friends! In honour of the long weekend, I thought I would share a recipe that should basically be mandatory to serve on long weekends. 

Meet my Chili Lime Corn — The perfect way to celebrate an extra weekend day and finish off the summer BBQ season. It is super duper simple, clean, and packed with flavour. Sometimes I fire up the BBQ and just make this corn as a snack haha. This recipe is also pretty much guaranteed to make you seem like you know what is going on in the kitchen. (Always a bonus.)

Want to get in on this BBQ action? 

Here are the ingreds:

  • Fresh corn
  • Chili powder
  • Fresh squeezed lime juice
  • EVOO (Extra virgin olive oil) or melted butter
  • Sea salt

Step 1: Turn your BBQ on to medium-high heat. Shut the lid and let that bad boy warm up. 

Step 2: Shuck your corn, and cover in melted butter or EVOO. Sprinkle with chilli powder and sea salt. 

Step 3: Put your corn (whole) on the BBQ and slowly cook for a few minutes on each “side” with the lid shut, rotating it around until the skin is nice and roasted. While the corn is on the BBQ, carefully squeeze your fresh lime juice allll over it. Once your corn is a darker yellow toasted colour all the way around, take it off the heat.

And you are done! Simple, and oh so flavourful.

I may or may not have crushed all three of these by myself. I encourage you to invite friends over so you don’t do the same. (The struggle was very real.)


x,


Robyn-Signature

1:00 | September 1, 2015

MUSHROOM + ARUGULA QUINOA

Food

Skinny-Belle (1 of 13)

Skinny-Belle (2 of 13)

Skinny-Belle (3 of 13)

Skinny-Belle (5 of 13)

Skinny-Belle (6 of 13)

Skinny-Belle (9 of 13)

Skinny-Belle (11 of 13)

Skinny-Belle (12 of 13)

Skinny-Belle (13 of 13)


This. Recipe. Though.

I am obsessed. 

It is so good it is almost impossible to stop eating. Often when I cook I make bigggg portions, then use the leftovers for a few meals after (because, laziness.) This time was no exception. I made a huge bowl of my Mushroom + Arugula Quinoa with plans of keeping it for leftovers. Needless to say, leftovers didn’t end up happening. Licking the plate? That may or may not have happened, but a lady never tells. (K fine I licked the plate. Sue me.) 😉

This Mushroom + Arugula Quinoa is the perfect meal to make if you have a big batch of quinoa/brown rice leftover. So simple, and ohhhh so flavourful. 

Here are the ingreds:

  • ¼ cup EVOO (extra virgin olive oil)
  • 4 garlic cloves minced
  • 2 tsp of finely chopped fresh thyme
  • 2 cups (ish) of crimini mushrooms
  • 2 cups cooked grains (brown rice or quinoa are best, I used TruRoots Organic Sprouted Rice and Quinoa Blend)
  • 2 handfuls of baby arugula
  • Fresh ground pepper
  • Salt
  • Grated parmesan cheese for topping

Let’s get crackin’. 

Step 1: Prep all your ingredients. Cook your grains if they are not already cooked. Then, wash and slice your mushrooms and get the garlic & thyme ready.

Step 2: Cook mushrooms, garlic, and basil in a medium heat pan with a few glugs of EVOO until they are softened and browned. The mushrooms will start to squeal (yes, squeal…) so listen carefully. When they do this they are almost done! 

Step 3: Transfer mushroom and basil mix to large bowl with quinoa and arugula in it, and stir to combine. Add lots of salt and black pepper.

Step 4: If you know what’s good you will smother this beautiful mixture in parmesan cheese. 

This dish makes a fannnntastic lunch or dinner. It tastes freakin’ bomb, so you should probably go and make it, like, yesterday.

Enjoy!! 🙂


x,


Robyn-Signature

1:00 | August 26, 2015

ROAST PORK TENDERLOIN

Food

Skinny-Belle (1 of 12)

Skinny-Belle (2 of 12)

Skinny-Belle (3 of 12)

Skinny-Belle (4 of 12)

Skinny-Belle (7 of 12)

Skinny-Belle (6 of 12)


Oh. Hell. Yes.

LADIES make this for your man and he will love you forever. No joke. Well I am not actually sure if that’s the case but ya’ll can test it out and let me know how many proposals happen after this meal. K? K. 

My Roast Pork Tenderloin with veggies is the perfect Sunday night dinner to cook and enjoy with a nice glass of wine or 6. 

Let’s get started. Here are the ingreds you will need:

Meat stuff

  • 1 or 2 pork tenderloins
  • 4 (ish) rosemary sprigs, stripped and finely chopped
  • Balsamic vinegar reduction (My fave is Nonna Pia’s Strawberry Fig)
  • A few generous glugs of EVOO (extra virgin olive oil)
  • Coarse ground sea salt
  • Fresh cracked pepper

Veggie stuff

  • 1 zucchini
  • 1 yam
  • Fingerling potatoes! (<– the exclamation point just felt right)
  • 1 yellow onion
  • 8 cloves garlic (because f it you only live once and these taste like heaven when baked)
  • Coarse ground sea salt
  • Fresh cracked pepper
  • EVOO
  • 4 (ish) sprigs of rosemary finely chopped

Babes, it’s on. Do you have your wine ready? K good. Me too. Let’s do this.

Step 1: Preheat oven to 500 F and get two oven-safe dishes out.

Step 2: Wash veggies and chop up into about 2 inch cubes. Make sure the zucchini is cut in way larger pieces than the rest (very necessary because it cooks quicker than the other veggies.) Peel your garlic, chop off the gross hard bits (lol) and throw the cloves whole into the mix. Yes, whole cloves of garlic. It will be SO GOOD trust me.

Step 3: Put all your prepped veggies into a large bowl and cover with EVOO, rosemary, salt, and pepper. Set aside.

Step 4: Trim all the gross white/fat/silver skin stuff off of your tenderloin babies. Place them loins (lol) in your oven-safe tray.

Step 5: Once your loins (I don’t think I will ever be mature enough to not find that hilarious) are safely in their dish, cut a few small slits into the meat and disperse big chunks of garlic into the meat. Sweet baby jesus. Now coat them with a few tbsp of that delicious Nonna Pia balsamic vinegar reduction, and rub the vinegar into the meat. Take your final ingredients (salt, pepper, rosemary) and rub them over the tenderloins. 

Step 6: Put veggies in the oven first. They will need about 35 – 40 minutes total to get nice and roasted. 

Step 7: After the veggies have already been in the oven for about 15 – 20 mins, pop your prepped pork tenderloins in there too for 20 minutes. Once 20 minutes is up, take the meat (and the veggies) out of the oven and transfer to a cutting board to “rest”, then slice and serve.

Anddd you can await your impending marriage proposal. 😉

One thing to note about my recipes is you really should tailor them to your own taste! For example, I often cook with tons of garlic and way more fresh herbs than necessary, because I love really strong flavours. But you might prefer your food to be a bit less intense on the flavour front, so adjust accordingly. 🙂

Okay but for real, you guys need to make this. And buy that balsamic reduction because it tastes so good on everything, like these Goat Cheese Figs. (<–also, yum.)

Hope you enjoyed the recipe today! Talk soons <3


x,


Robyn-Signature

1:27 | August 24, 2015

SUNDAY BRUNCH

Food

Robyn-Gummer (1 of 11)

Robyn-Gummer (3 of 11)

Robyn-Gummer (8.1 of 11)

Robyn-Gummer (4 of 11)


Hey guys! A few mixed snaps for you from my Sunday funday yesterday. Spent the day making brunch with the girls, and hitting up a beautiful spot in West Vancouver after to catch some rays. Totally was the perfect way to end a great week! 

Hope you are all having a great start to your Monday. Stay tuned, there is lots of great stuff coming your way this week! 


x,


Robyn-Signature

11:24 | August 16, 2015

SPINACH + KALAMATA OLIVE PASTA

Food

Skinny-Belle (1 of 10)

Skinny-Belle (3 of 10)

Skinny-Belle (10 of 10)

Skinny-Belle (7 of 10)

Skinny-Belle (6 of 10)

Skinny-Belle (8 of 10)


Pasta pasta pasta. Is there a better comfort food? Whenever it is a bit chilly out I always want to cozy up with a big bowl of pasta.

Usually I am all about the regular wheat pasta (cuz YUM), but lately I have been feeling like eating a little bit healthier. There has been a lot of junk food happening in my world. Think: M&M’s, chocolate, chips of any and all kinds…. etc. Remember that post about eating healthy 80% of the time and junk food the other 20% (aka the Skinny Belle Lifestyle)? Well the past few weeks for me have been a little more like 60% 40%.

**I will have a post coming soon on how to bounce back from lifestyle slip-ups!**

Lifestyle slip-ups (aka eating a bunch of crap food for a few days) happen to the best of us. I am definitely not perfect and it happens to me too. Birthdays, vacations, parties… that shit can get you haha.

Anyways, let’s just say the size of my ass has been increasing at an alarming rate. So to help get things back in balance I made this dinner with kamut grain pasta instead of wheat pasta. Kamut grain is easier to digest than wheat because of the high quantity of dietary fibre. Kamut grain also has way more protein than regular wheat! So, yay healthy choices 🙂

Want to try this super flavourful dish for yourself?

Ingreds:

  • Kamut grain pasta (I like this brand)
  • Pitted kalamata olives
  • 3 – 4 cloves of minced garlic (I like to put lots cuz yolo and flavours) 
  • 1/4 cup roughly chopped fresh Italian parsley 
  • Feta cheese
  • 2 large handfuls of spinach
  • Juice of 1/2 a lemon
  • Extra virgin olive oil
  • Cracked sea salt

Step 1: Start by cooking your pasta, and just follow the directions on whatever kind you end up buying. Beware, kamut grain pasta cooks WAY faster than wheat pasta. So read them directions reallllll careful. 

Step 2: While the pasta is cooking, roughly chop up your fresh Italian parsley.

Step 3: Set pasta aside when it’s done cooking, strain and mix in a little olive oil. Put a pan on the stove (medium heat) and add a few generous glugs of extra virgin olive oil.  Add the parsley, kalamata olives, and garlic to the EVOO. Let simmer for a few minutes to get niceee and flavourful. 

Step 4: Add your pasta and spinach to the pan on top of the other ingreds. Stir everthing about so it is all mixed and then squeeze the lemon juice over all of this big beautiful mess. Uhg, so hungry while writing this up. Struggles. 

Step 5: Put on a plate (duh, I know) and then add your crumbled feta cheese on top. And finish the whole deal with some fresh cracked salt and pepper. DELISH.

You are welcome. Your Monday night dinner just got that much better. Anddddd you will feel great after eating this because you chose a healthier option! 

Little side note about kamut grain pasta though, it doesn’t quite hold together as well as regular wheat pasta. Not the worst thing ever, but just an FYI 🙂

Okie so what do you guys think? Yay? Nay? You likeeeee? Comment below 😀


x,


Robyn-Signature

1:00 | August 12, 2015

SWEET POTATO FRIES

Food

Skinny-Belle (1 of 12)

Skinny-Belle (3 of 12)

Skinny-Belle (5 of 12)

Skinny-Belle (6 of 12)

Skinny-Belle (10 of 12)

Skinny-Belle (9 of 12)

Skinny-Belle (11 of 12)


Really though, is there anything more satisfying than a nice big plate of fries? Especially when you know that they are actually good for you. Yes, fries that are good for you. Welcome to my world friends.

These fries are nutrient packed, and obvi not deep fried (because that needs to be saved for treatin’ purposes only.) Sweet potatoes are good for you for many reasons, my favourites being their low sugar content in comparison to yams andddd the fact that they are packed with antioxidants. Yes. All of it. 

My Sweet Potato Fries are great for any night of the week and are super quick and easy to make.

Here are the ingreds:

  • 1 – 3 medium sweet potatoes
  • coarse ground sea salt
  • Extra virgin olive oil
  • Dried basil (or fresh if you have it around!)

Ready? Let’s go:

Step 1: Preheat oven to 375 F.

Step 2: Cut sweet potatoes into medium sized wedges and toss in a bowl.

Step 3: Cover sweet potatoes with your EVOO, basil, and sea salt. Spread out evenly on a baking tray and pop in the over for 35 minutes.

Step 4: Crank the oven up to “broil” for 3 minutes to brown the fries. 

And you are doneeee! I like to enjoy these with ketchup because I am ratchet like that. And because ketchup is awesome. 🙂


x,


Robyn-Signature


2:19 | August 9, 2015

NECTARINE PANCAKE COBBLER

Food

Skinny-Belle (2 of 11)

Skinny-Belle (1 of 11)

Skinny-Belle (3 of 11)

Skinny-Belle (4 of 11)

Skinny-Belle (5 of 11)

Skinny-Belle (7 of 11)

Skinny-Belle (8 of 11)

Skinny-Belle (10 of 11)


Happy Sunday friends!!

Today I would like you to meet my Nectarine Pancake Cobbler. A healthy breakfast that tastes like crack. (Ad companies, you are welcome for this genius slogan idea. It really can be applied to any and all breakfasts here on Skinny Belle. I will start collecting my royalties anytime now.)

This “cobbler” (it’s more like a pancake/cake thing on top of baked fruit… hence the confusing title) is filled with nutritional goodness and void of crap ingredients like refined sugars etc. Just the way I like it. Wholesome, healthy, and freakin’ delicious.

What’s in it:

Pancake Cobbler stuff

  • 1/2 cup spelt flour (or regular flour)
  • 1/4 cup coconut milk
  • 1 tbsp coconut oil, melted
  • 1 tsp pure vanilla extract
  • 1/4 tsp baking soda
  • 4 tbsp maple syrup (buy the real pure maple syrup. For the love of god please don’t use Aunt Jemima)

Cobbler Filling stuff

  • 2 nectarines
  • 2 tbsp maple syrup
  • 1/2 tsp cinnamon
  • 1 tsp pure vanilla extract
  • 2 tbsp spelt flour (or regular flour)

Okie dokie. Let’s do this.

Step 1: Preheat your over to 425 F. After the oven is getting nice and toasty warm, generously prep 2 oven-safe cups with coconut oil. (I usually take a paper towel and rub the oil around inside the cups so your paws don’t get all grubby 😉 )

Step 2: Slice up them nectarines into nice little cubes. Gently combine all the cobbler filling ingredients in a bowl. Separate the fillings into the two oven-safe cups you prepped, and put them in the oven for 10 minutes.

Step 3: While the nectarine filling is baking, combine all your pancake cobbler ingredients in another bowl and whisk together until smooth.

Step 4: After the fruit is done baking for 10 minutes, take it out and reset the oven to 375 F.

Step 5: Scoop your batter on top of each of your cups and put them back in the oven for another 35 minutes.

Step 6: Try not to burn yourself by inhaling these little cups of joy right when they come out of the oven. I put this step in because I definitely burnt my mouth and now it hurts really bad :(. Learn from my mistakes, friends.

This is the perfect thing to make for you and your man on a nice Sunday morning. It is reasonably simple and tastes amazing. I may or may not have eaten both of these to myself….. But a lady never tells. 😉

Will this Skinny Belle recipe be making a feature in your kitchen anytime soon? Comment below!


x,


Robyn-Signature